Section 3: Deploy Spoke VMs
In this section, you will deploy Ubuntu virtual machines in the spoke VCNs. These VMs will be used later for traffic testing through the FortiGate cluster.
Step 3.1: Start Creating the First Spoke VM
In the OCI Console, go to:
Compute > InstancesClick Create instance.
Use a name based on your assigned student number.
Example:
Student25-Spoke1-VM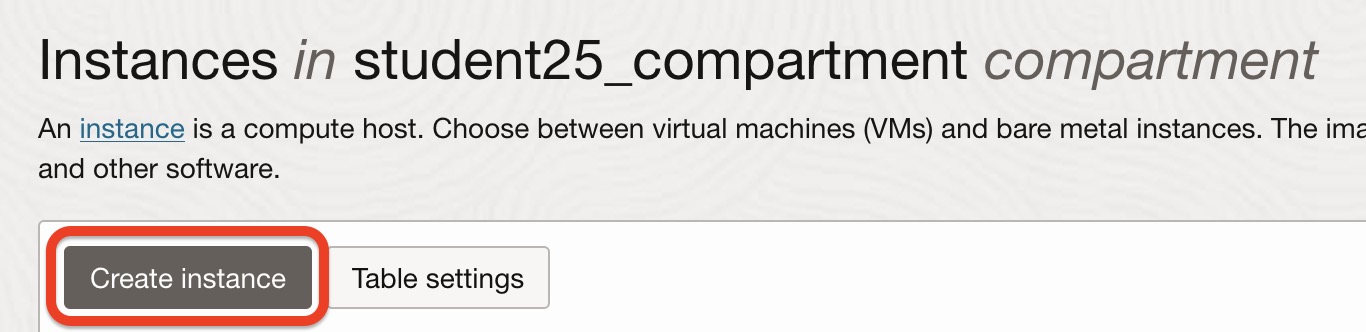
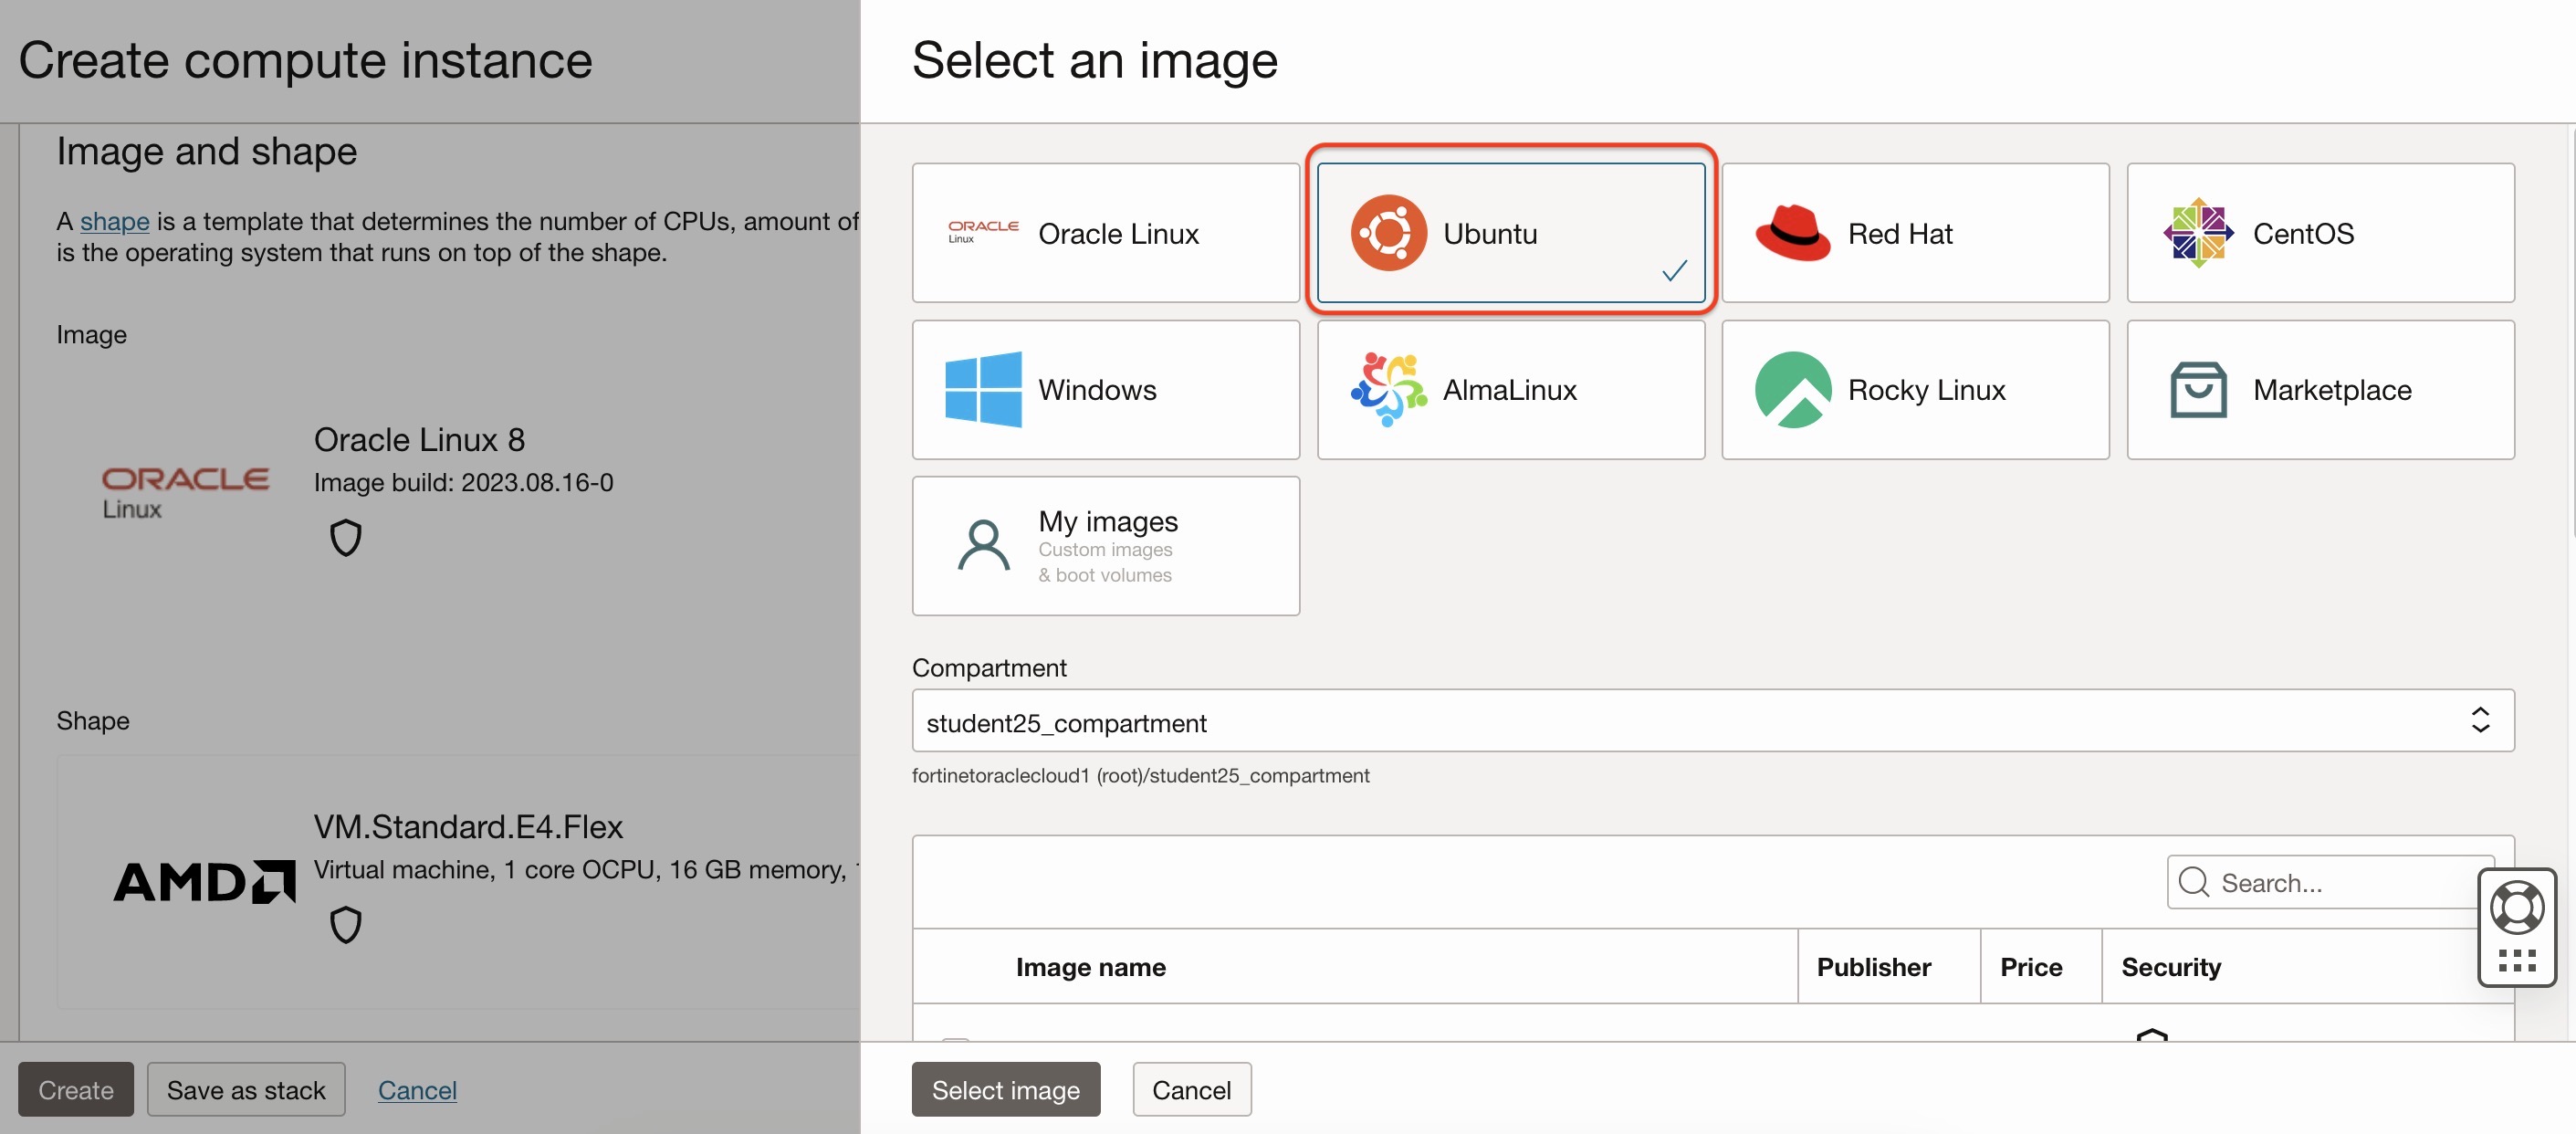
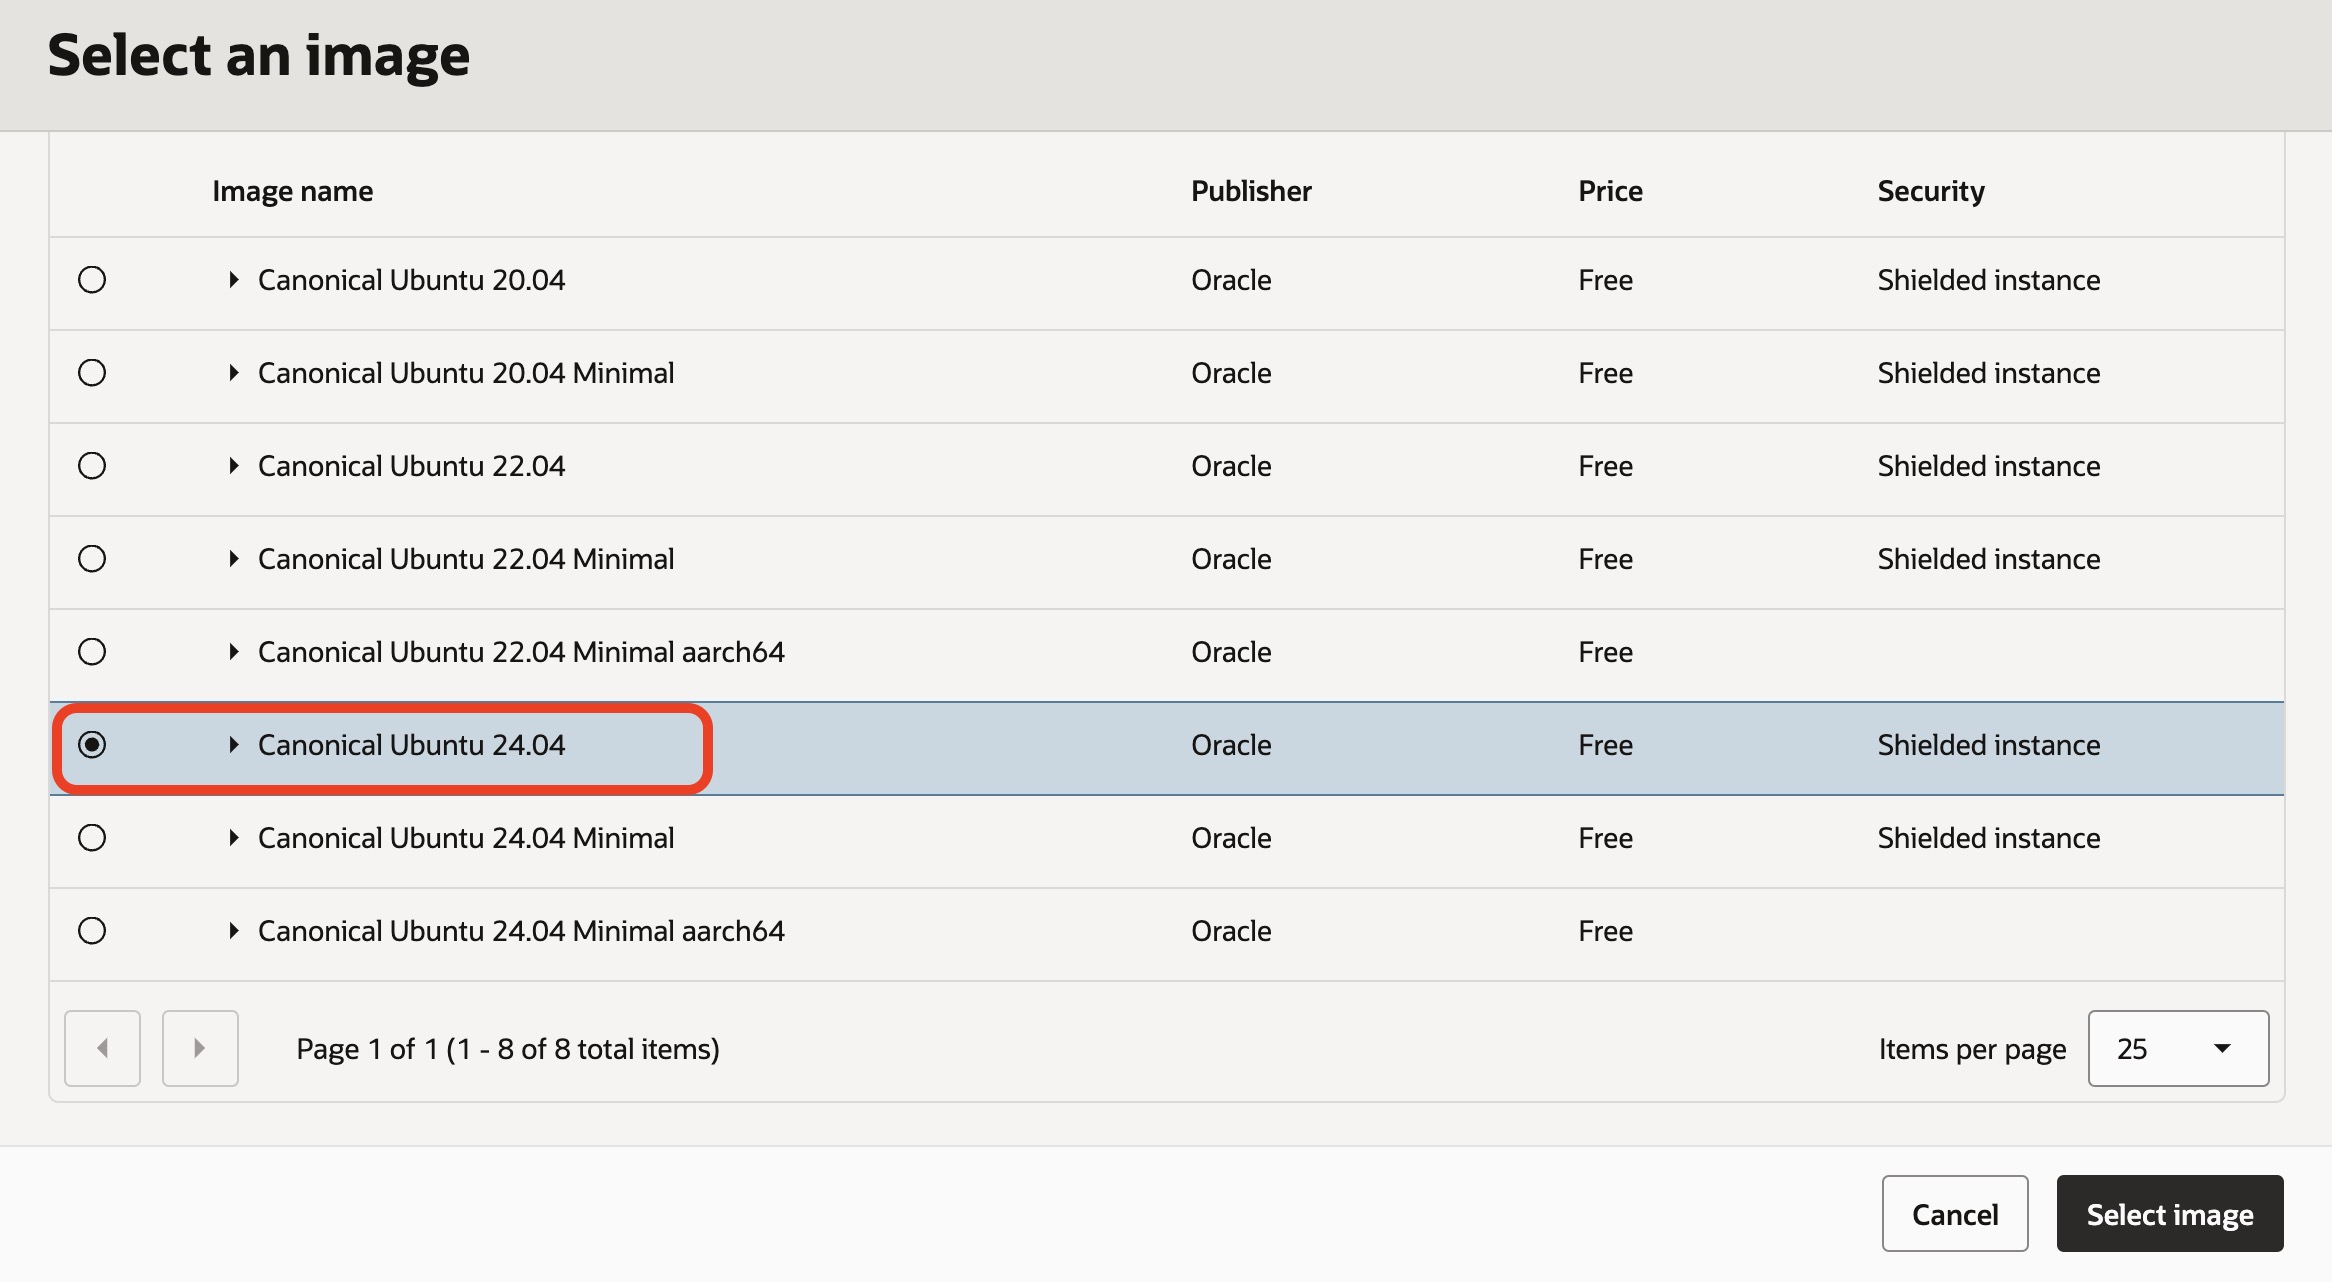
Step 3.2: Select the Image and Shape
Select an Ubuntu image for the spoke VM.
Use the default or lab-provided shape unless your instructor gives different instructions.

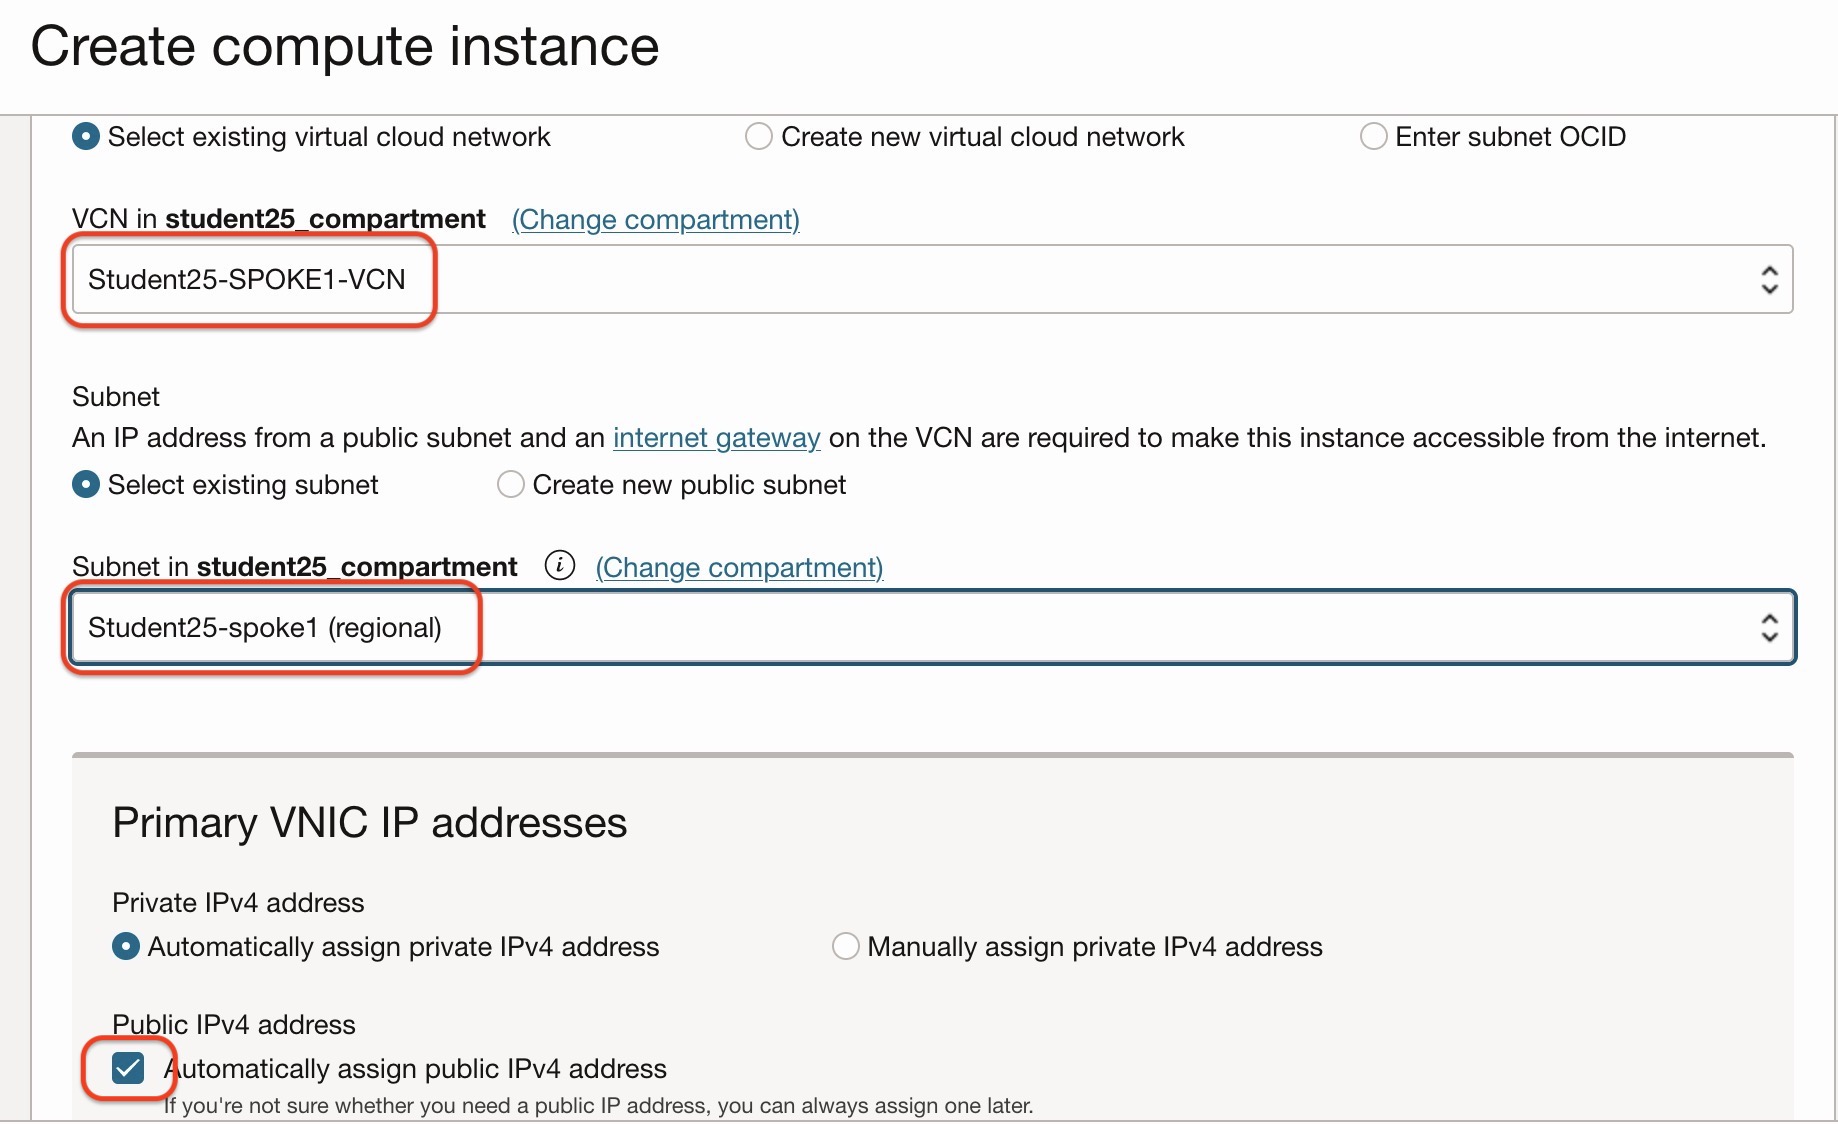
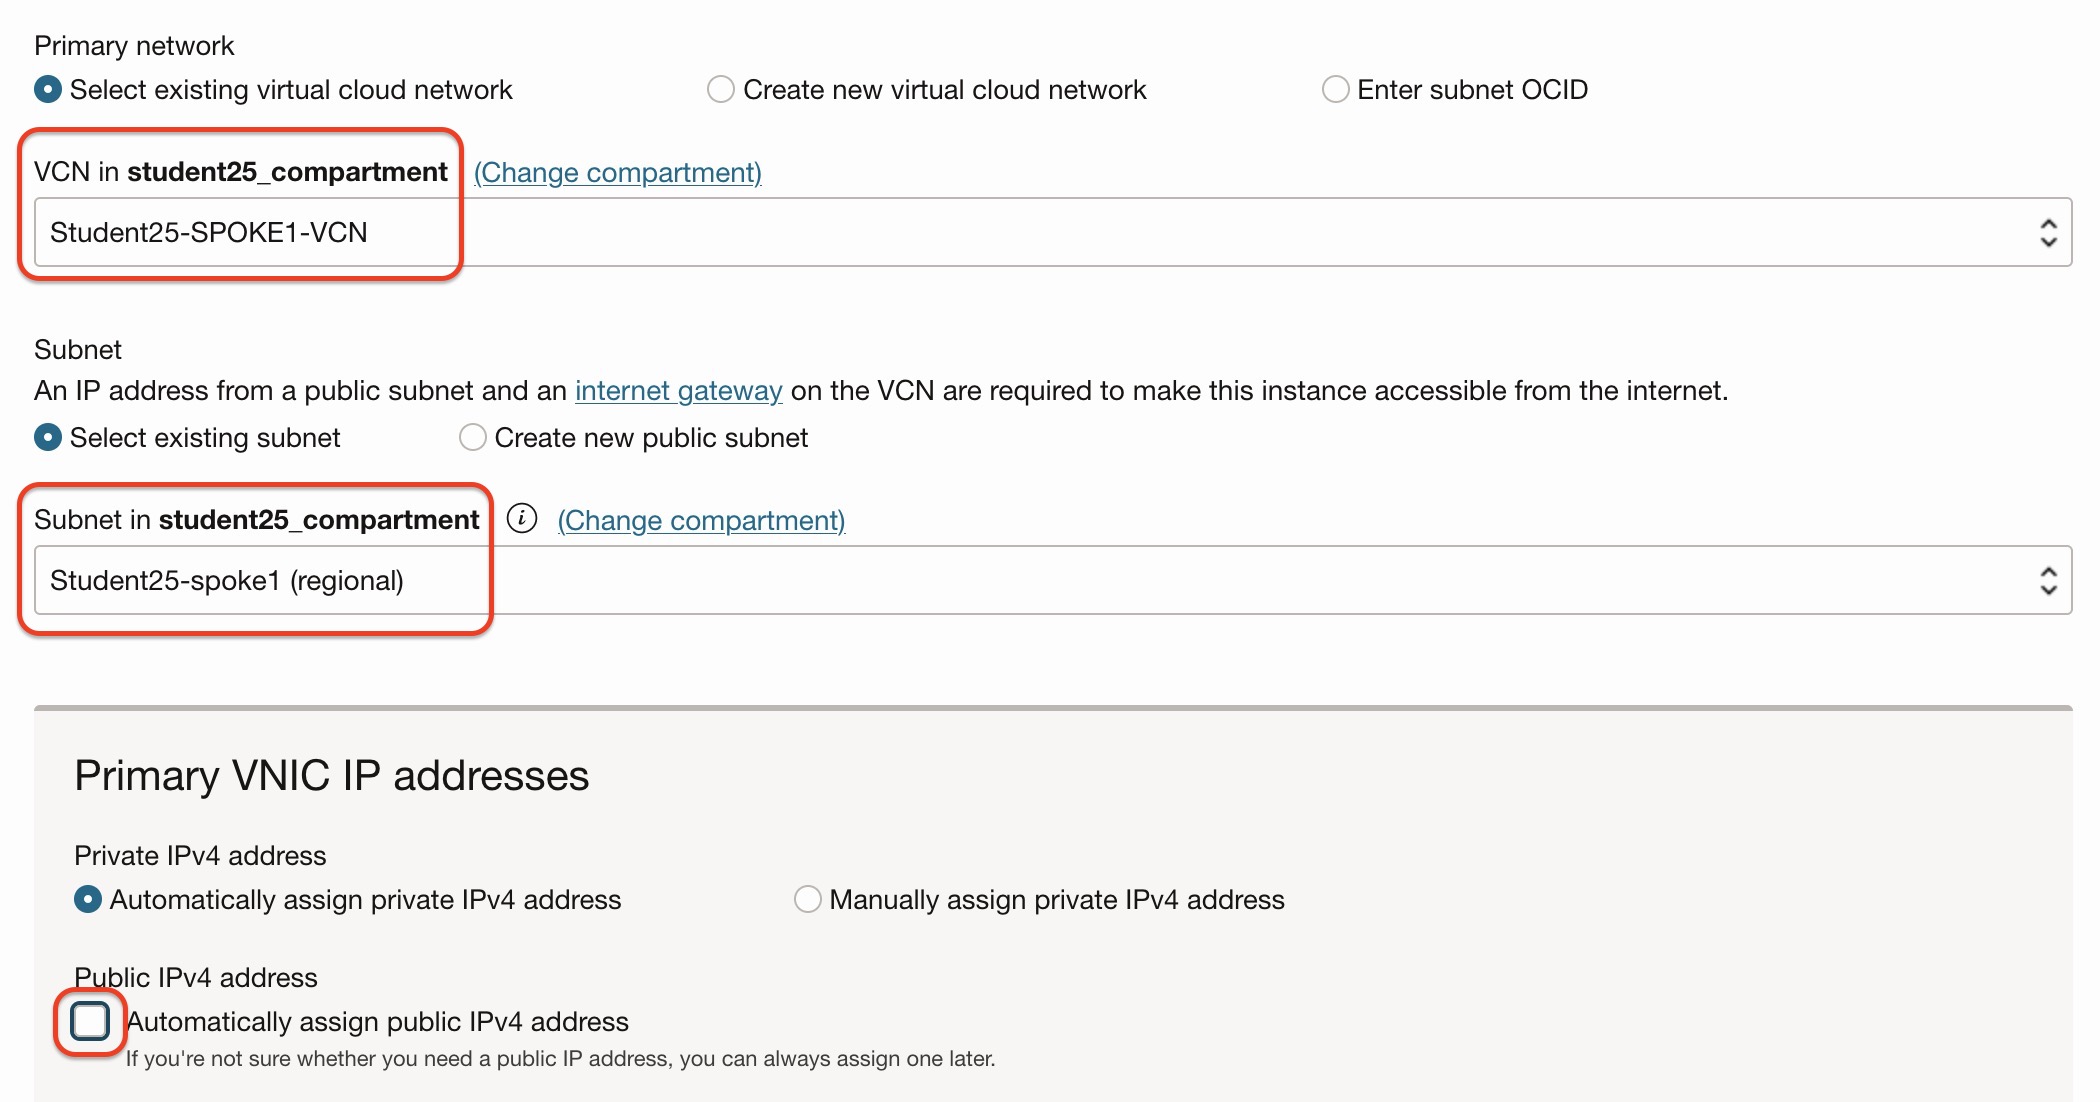
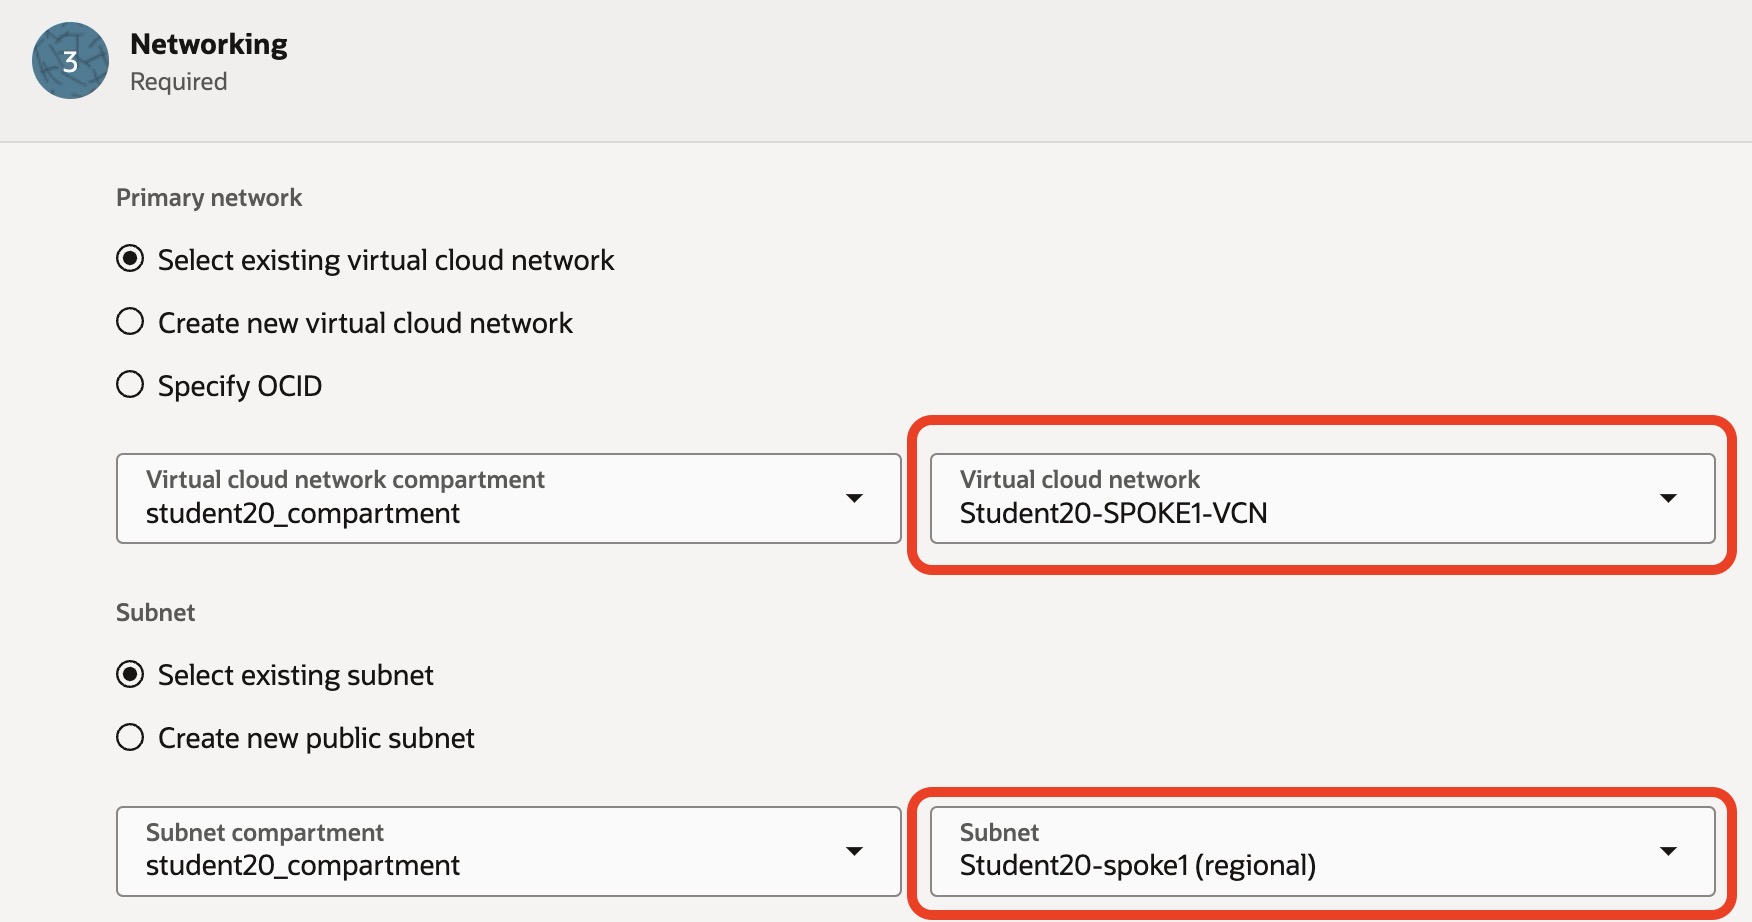
Step 3.3: Configure Networking
Select the correct VCN and subnet for the first spoke VM.
Make sure you select the Spoke1 VCN and related subnet.
Step 3.4: Disable Public IPv4 Address
For the spoke VM, disable automatic public IPv4 assignment.
The spoke VM should use private connectivity through the FortiGate path.

Review the VNIC configuration.
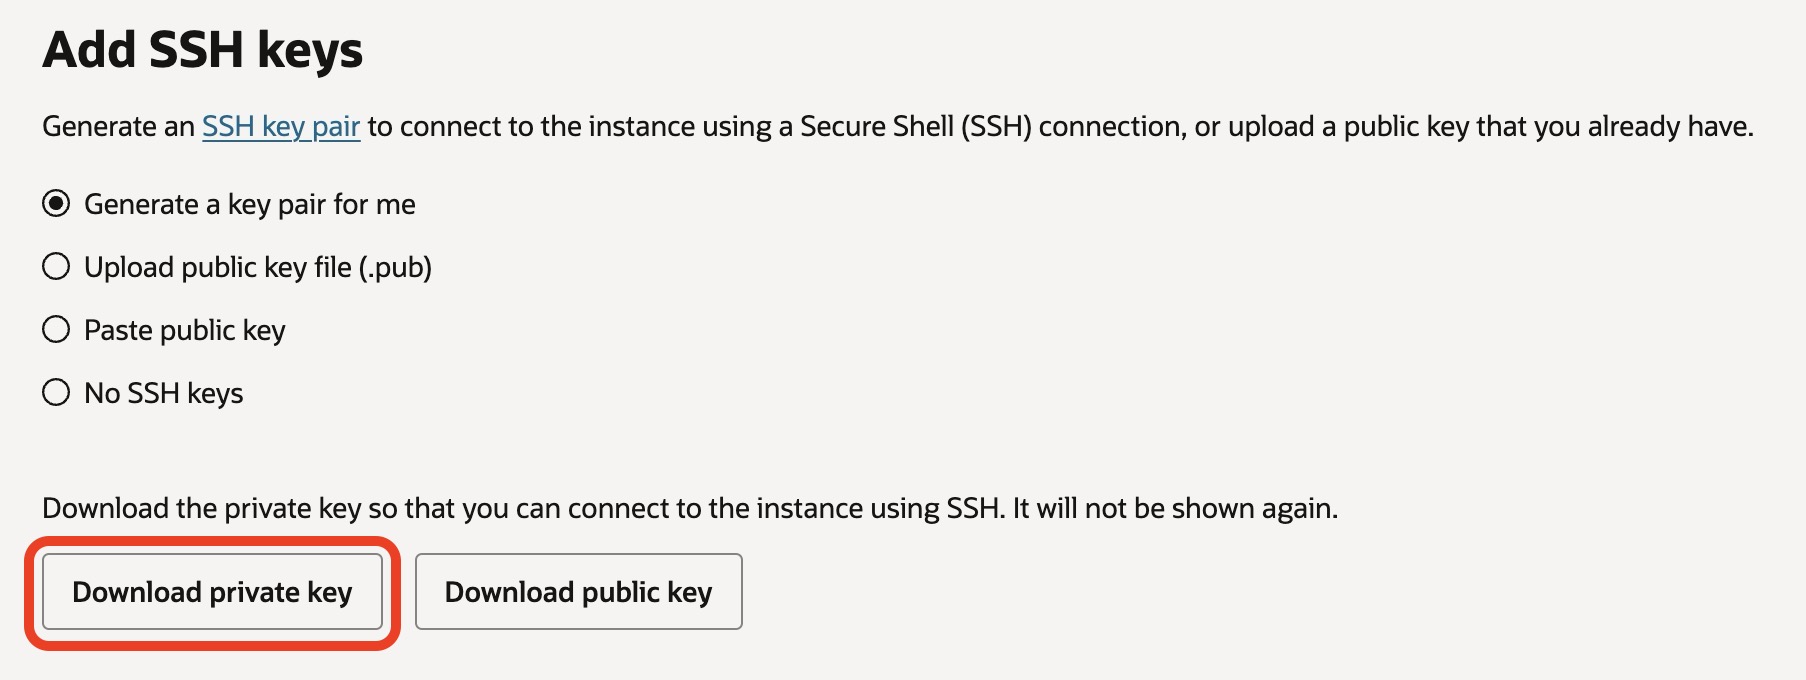
Step 3.5: Configure SSH Keys
Download or upload the SSH key as instructed during the lab.
Important
Keep the private key file safe. You will use it later for SSH testing.
Review the SSH key configuration.
Step 3.6: Create the First Spoke VM
Click Create and wait until the instance state becomes:
Running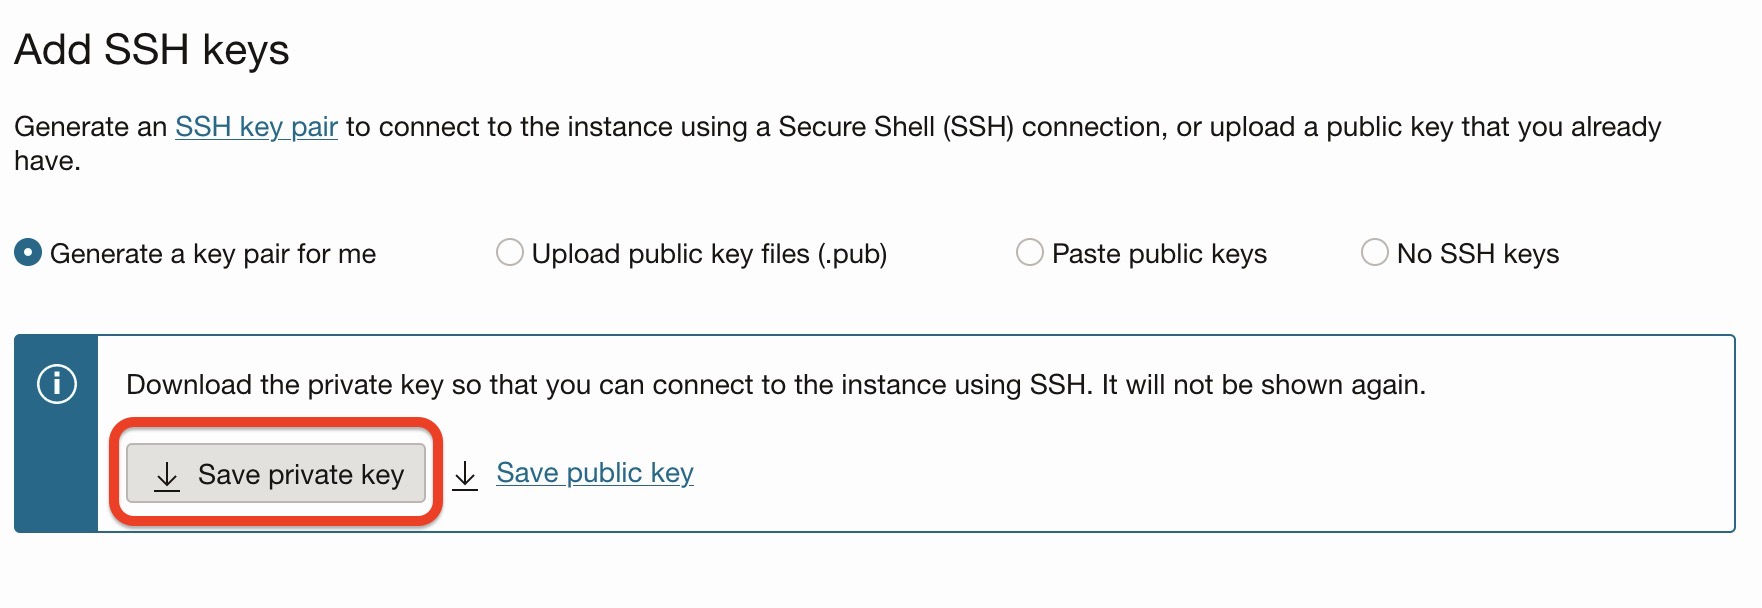
Step 3.7: Create the Second Spoke VM
Repeat the same process for the second spoke VM.
Use a name based on your assigned student number.
Example:
Student25-Spoke2-VMSelect the Spoke2 VCN and related subnet.


Checkpoint
Before continuing, confirm that:
- Spoke1 VM is running.
- Spoke2 VM is running.
- Both VMs are in the correct spoke VCNs.
- Public IPv4 assignment is disabled where required.
- You have saved the SSH private key.