Section 2: Deploy A/P FortiGate cluster
Step 2.1: Deploy FortiGate cluster using Terraform
Click the link below using the same browser you used to log in to OCI.
The link redirects you to the Oracle Resource Manager Stacks service, which uses Terraform behind the scenes.
| Create Lab Environment |
|---|
 |
The template creates the following infrastructure:
- 3 VCNs:
- 2 Spoke VCNs
- 1 FortiGate VCN
- Required subnets, route tables, and security lists
- 2 FortiGate-VM instances using FortiOS 8.0.0 BYOL images
On the Stacks management page, select:
I have reviewed and accept the Oracle Terms of Use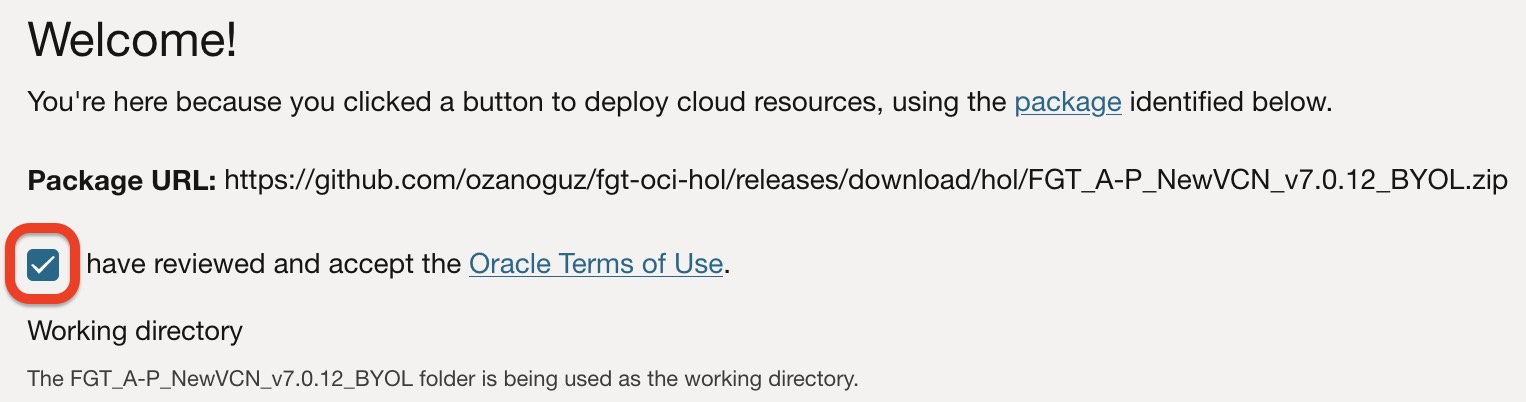
Make sure your assigned student compartment is selected, then click Next at the bottom-left corner.
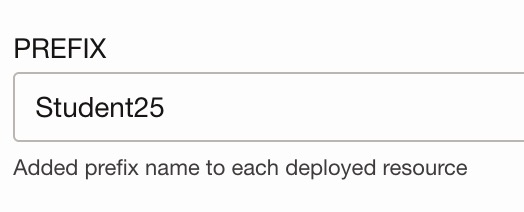
On the next page, define a PREFIX and paste the specific compartment OCID value for your deployment.
Each group uses a different student ID and compartment so that the resources for each study group can be identified easily.
Important
This step is mandatory. If the prefix or compartment OCID is not configured correctly, the deployment will fail.
After entering the required values, click Next at the bottom-left corner, then click Create.

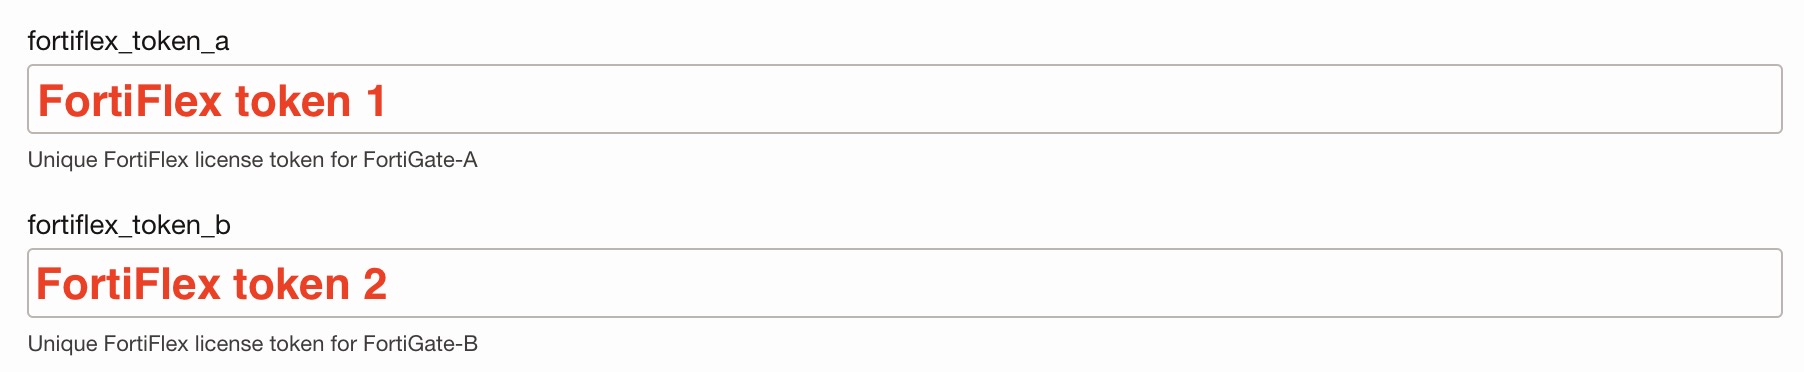
Enter the FortiFlex token values provided for both FortiGate VMs.
The deployment takes a few minutes to complete.
When the deployment is complete, the job status is shown as:
SUCCEEDED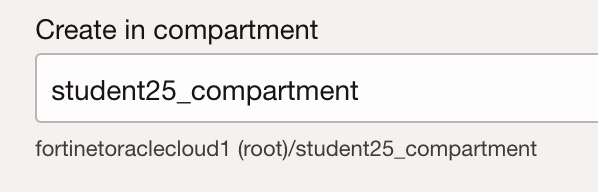
Step 2.2: Verify deployment
The FortiGate VMs should be deployed and shown as Running under:
Compute > Instances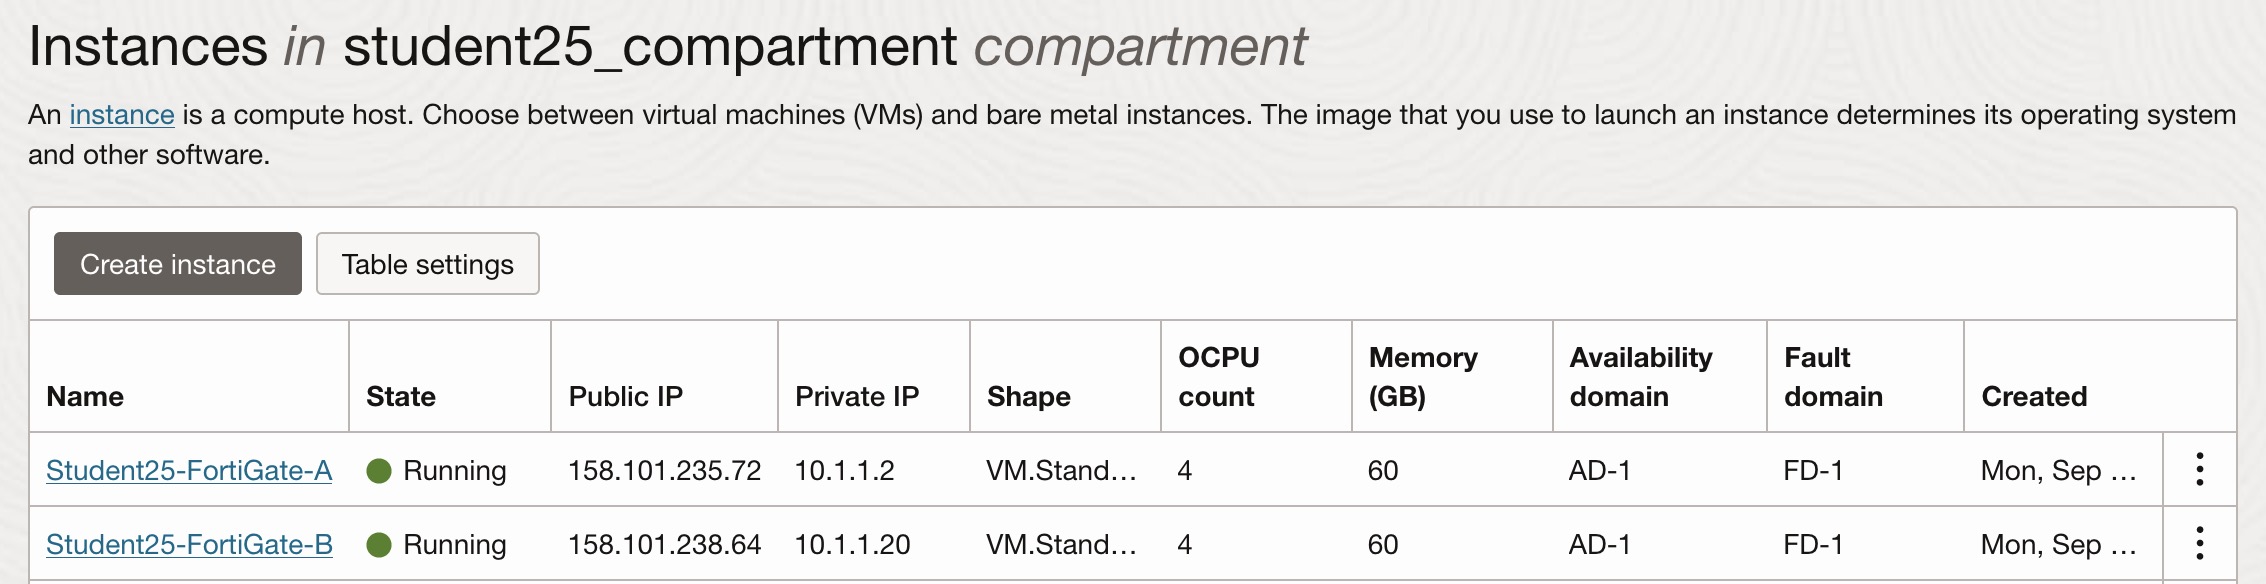
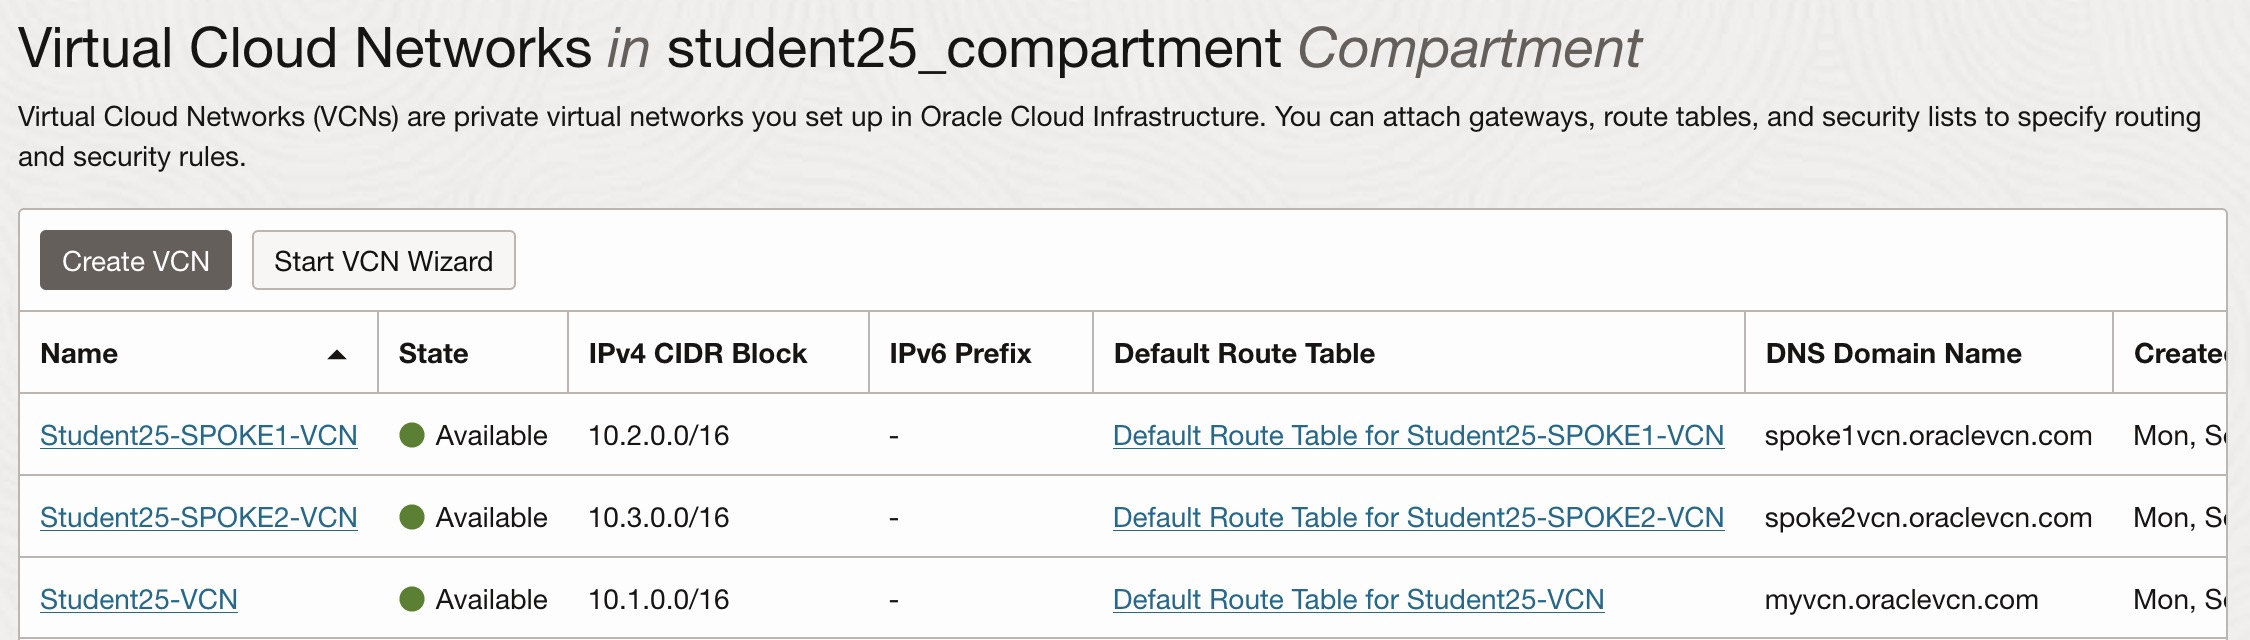
There should be three VCNs deployed for the lab.